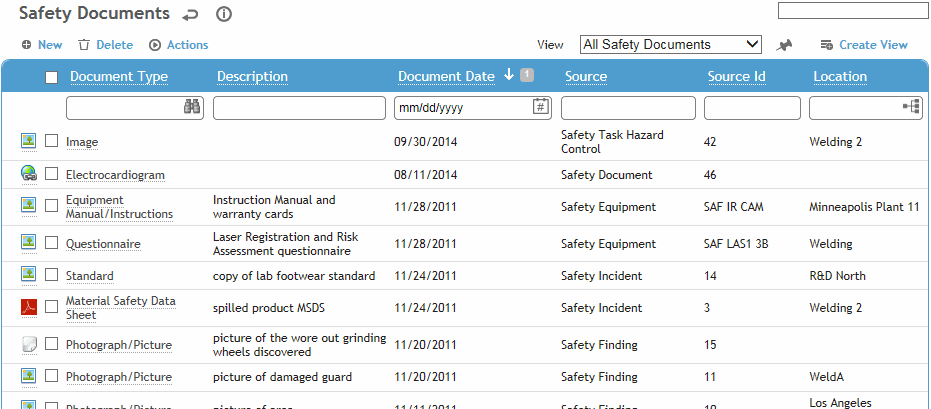
If you are in a module record and want to link a document to that record, click New on the Documents tab.
Alternatively, click Documents in any suite menu and then click New.

Click a link to edit a document record, or click New.

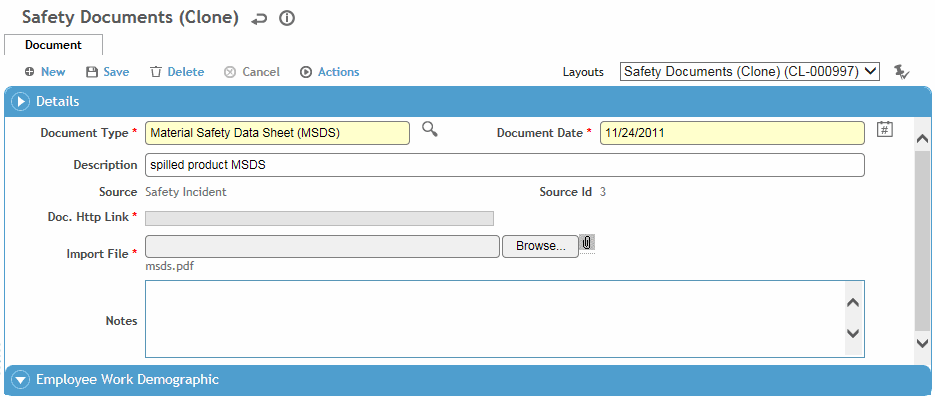
Enter the following information about the document:
-
If applicable, select the Employee (if not already selected) the document relates to.
-
Select the Document Type (e.g. Questionnaire, X-ray, etc.) and enter the Date of the file.
-
Identify who the document was Received From, and select the person that the document is To Be Reviewed By.
-
To attach a file to the employee record, click Browse beside the Doc. Import File field. Locate the file you want to attach and click Open.
-
To link to a web site, enter the URL in the Doc. HTTP Link field.
Enter a Description of the file you’re linking to the employee, and add any additional Notes as required (see Adding Notes to a Form).
For Medical Documents, indicate if the document should be included on the Problem List (see Working with the Problem List) and if the data is Private (private data can be included or excluded in reports where indicated).
Only the user identified as the reviewer (To Be Reviewed By) can sign the record (choose Actions»Sign). A signed record is locked from further edits.
Click Save.